
Working in website positioning results in attention-grabbing challenges that I’m certain you’ve all confronted at one level.
You’re a grasp of flexibility and managing tedious duties. I’ve just lately discovered myself coping with 100+ top-tier websites.
Working with world corporations, it’s fairly the puzzle to:
- Wrangle information for 100+ websites.
- Preserve tabs on each website’s efficiency.
And, since a few of these websites compete towards one another on the primary web page of Google, it’s fairly doable that Web site 1’s site visitors drops however Web site 2 captures the loss.
Checking one website’s Google Search Console (GSC) is simple, however it’s intense with a whole lot of web sites at a worldwide scale.
What Can You Do?
I devised a Google Sheets Apps Script that connects to GSC’s API to remodel world reporting from an arduous process that may take days – or weeks – into one which takes a couple of minutes.
After creating the script, I can simply put in a date vary and pull every website’s:
- Clicks and impressions.
- Key phrases.
- Common rankings.
- And so on.
Since we handle a whole lot of web sites, it’s not unusual for customers to finish up on one in all our websites to make their buy, as talked about above.
Within the grand scheme of issues, the larger image is extra necessary than a person website’s efficiency.
What I’m going to indicate you is my 10-step course of to create a script that pulls clicks and impressions after which compares all of it 12 months over 12 months (YoY).
10-Step Course of To Create A Google Sheets Apps Script For Reporting On A whole lot Of Websites
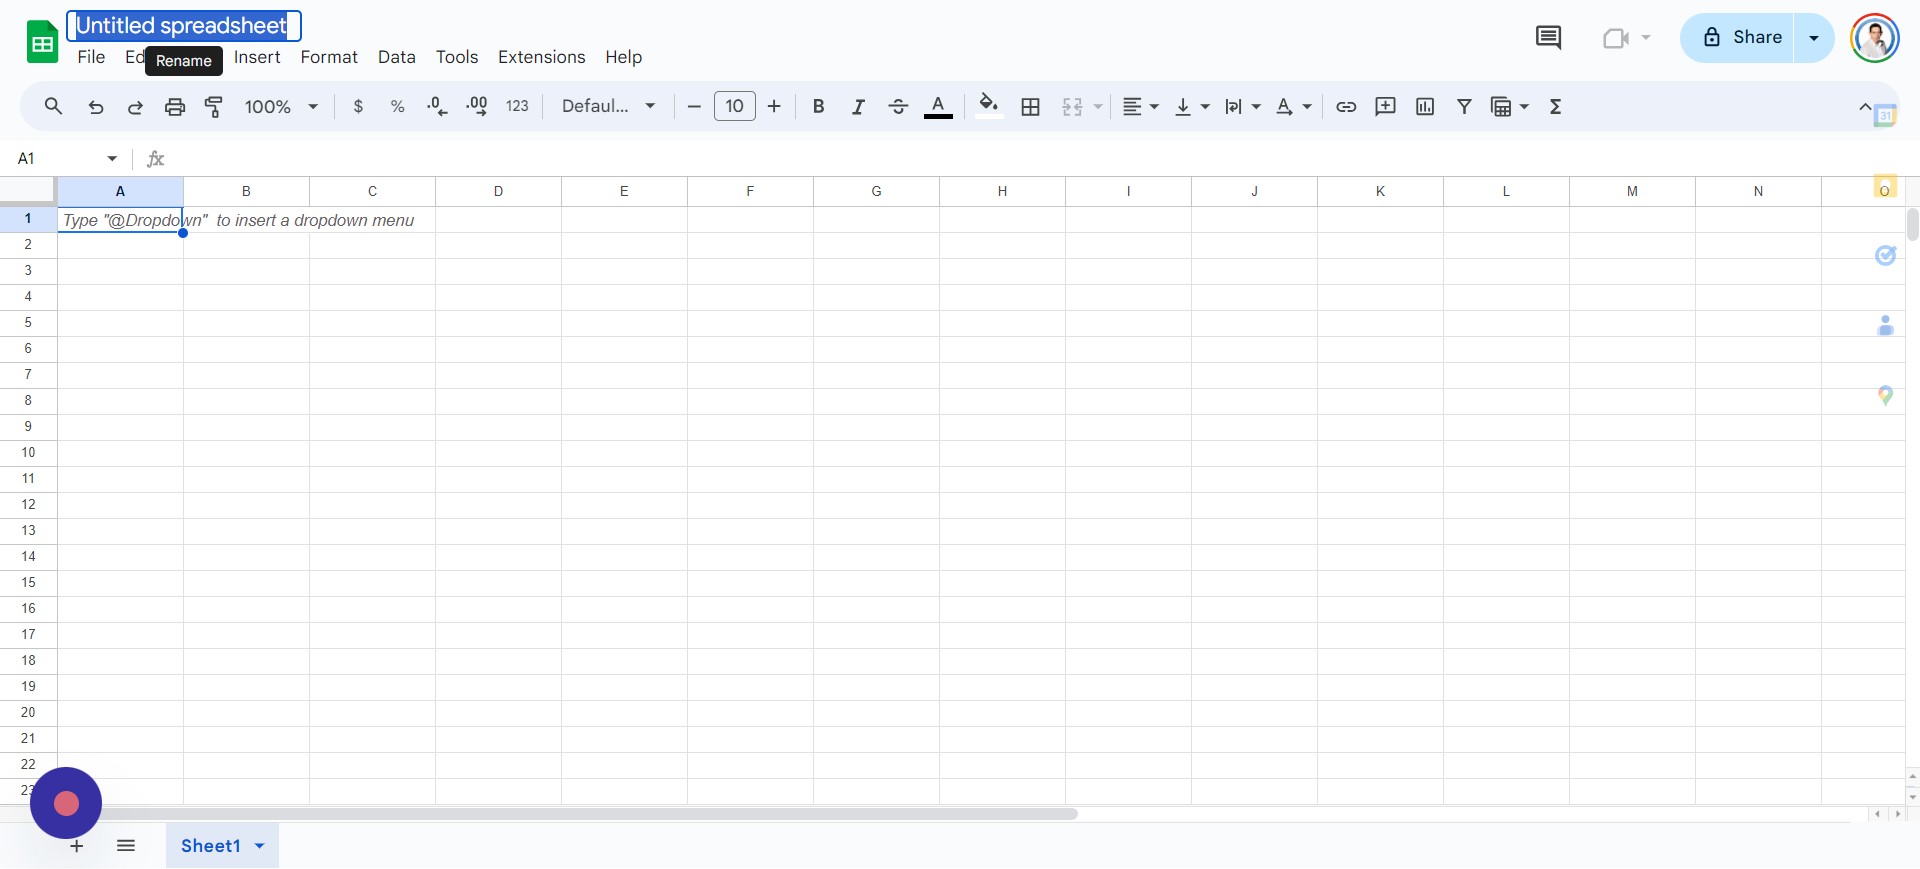
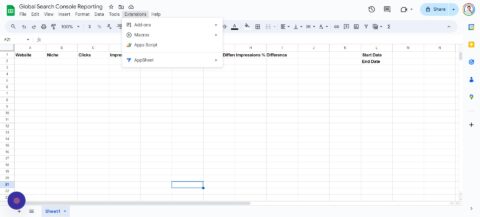
Step 1: Creating Your Google Sheets
 Screenshot from creator, April 2024
Your first step is to create your authentic Google Sheets file. You are able to do this by following these steps:
- Go to Google Drive.
- Navigate to the folder the place you need to place the recordsdata.
- Proper-click on the background
- Choose > Google Sheets > Clean Spreadsheet.
You’ll need to rename the file. I referred to as mine “World Search Console Reporting.”
 Screenshot from creator, April 2024
Your file is now arrange, and also you’re prepared for the following step.
Step 2: Setting Up Your Google Sheet
A clean sheet isn’t helpful and gained’t make sense to customers till you add some headers in Row 1. Headers that I like to recommend including, on this order and bolding, are:
- Web site.
- Area of interest.
- Clicks.
- Impressions.
- YoY Clicks.
- YoY Impressions.
- Clicks % Distinction.
- Impressions % Distinction.
Your file ought to now look one thing like this:
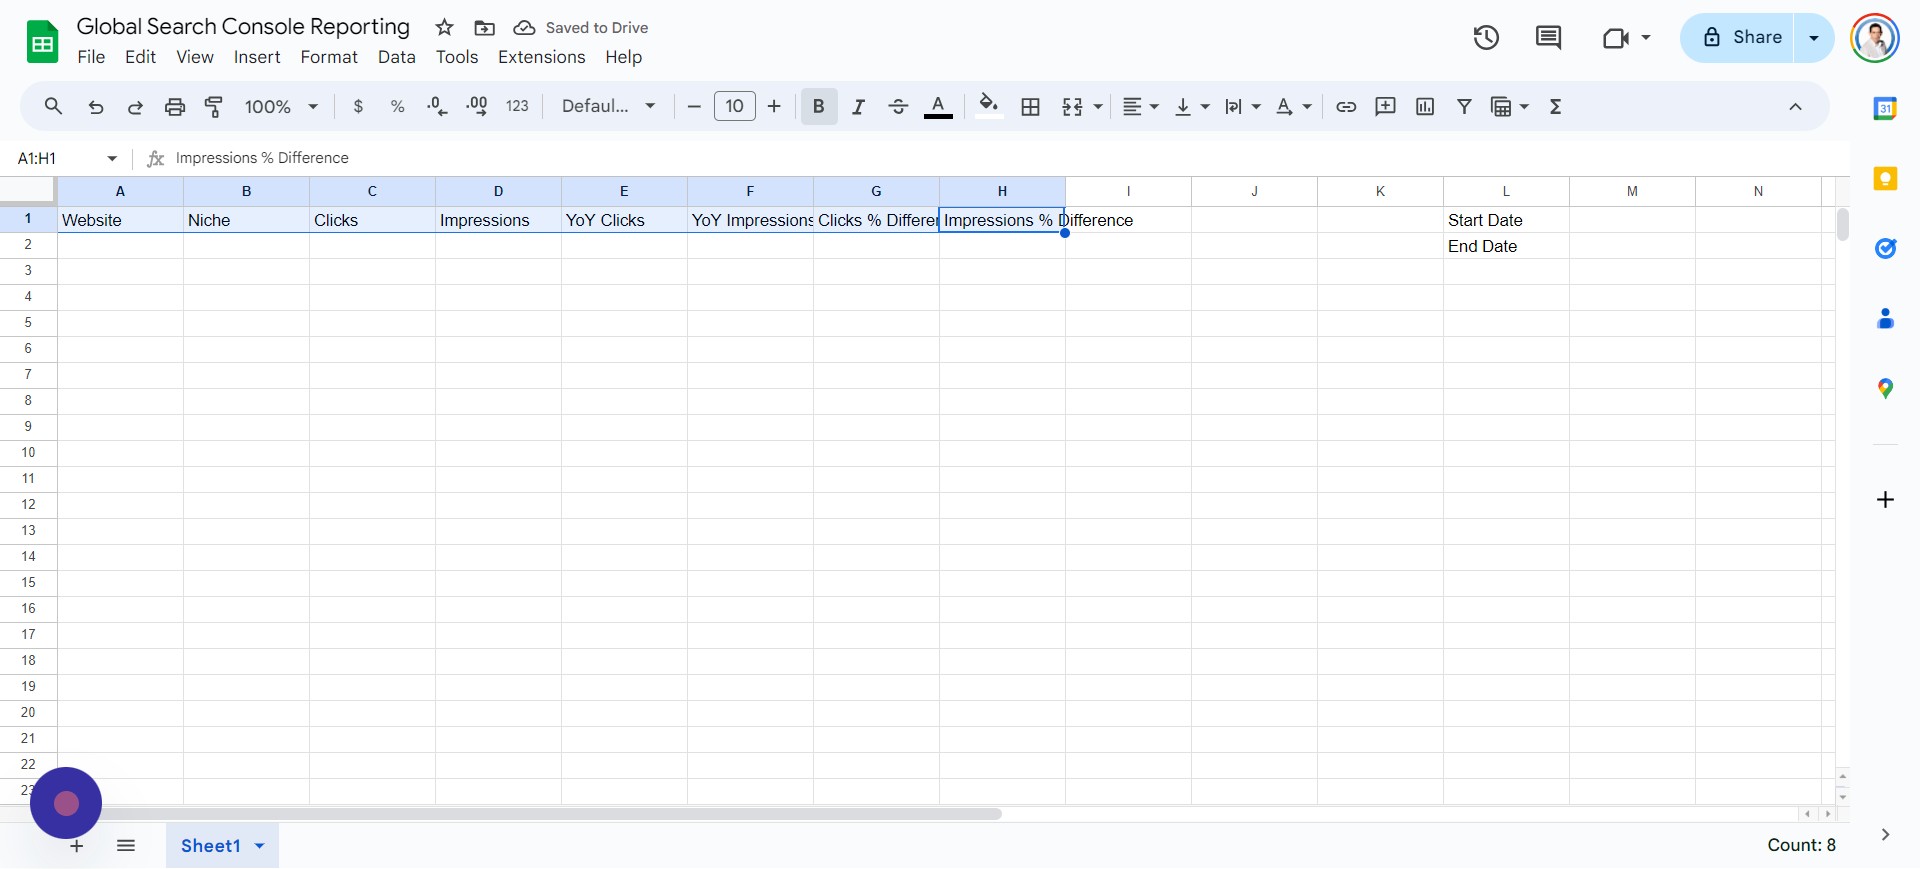 Screenshot from creator, April 2024
The next step is to create a Google Cloud Undertaking, which can be pretty easy and simple.
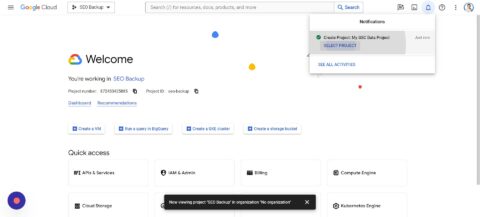
Step 3: Create A Google Cloud Console Information Undertaking
Creating your undertaking must be free as a result of Google supplies a $300 credit score to check out its platform. If you happen to haven’t used Google Cloud, yow will discover it at https://console.cloud.google.com/.
Now you can observe these steps:
- Faucet Choose Undertaking > New Undertaking.
- Enter Undertaking Identify (instance: “My GSC Information Undertaking”).
- Faucet Create.
 Screenshot from creator, April 2024
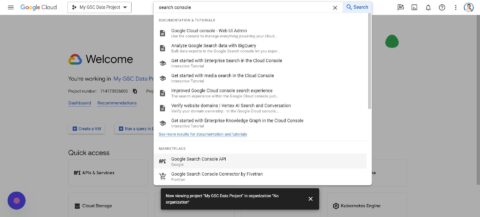
- Click on Choose Undertaking.
- Choose your Undertaking.
- Click on the highest Search bar.
- Sort “Google Search Console API.”
- Choose “Google Search Console API.”
- Click on Allow.
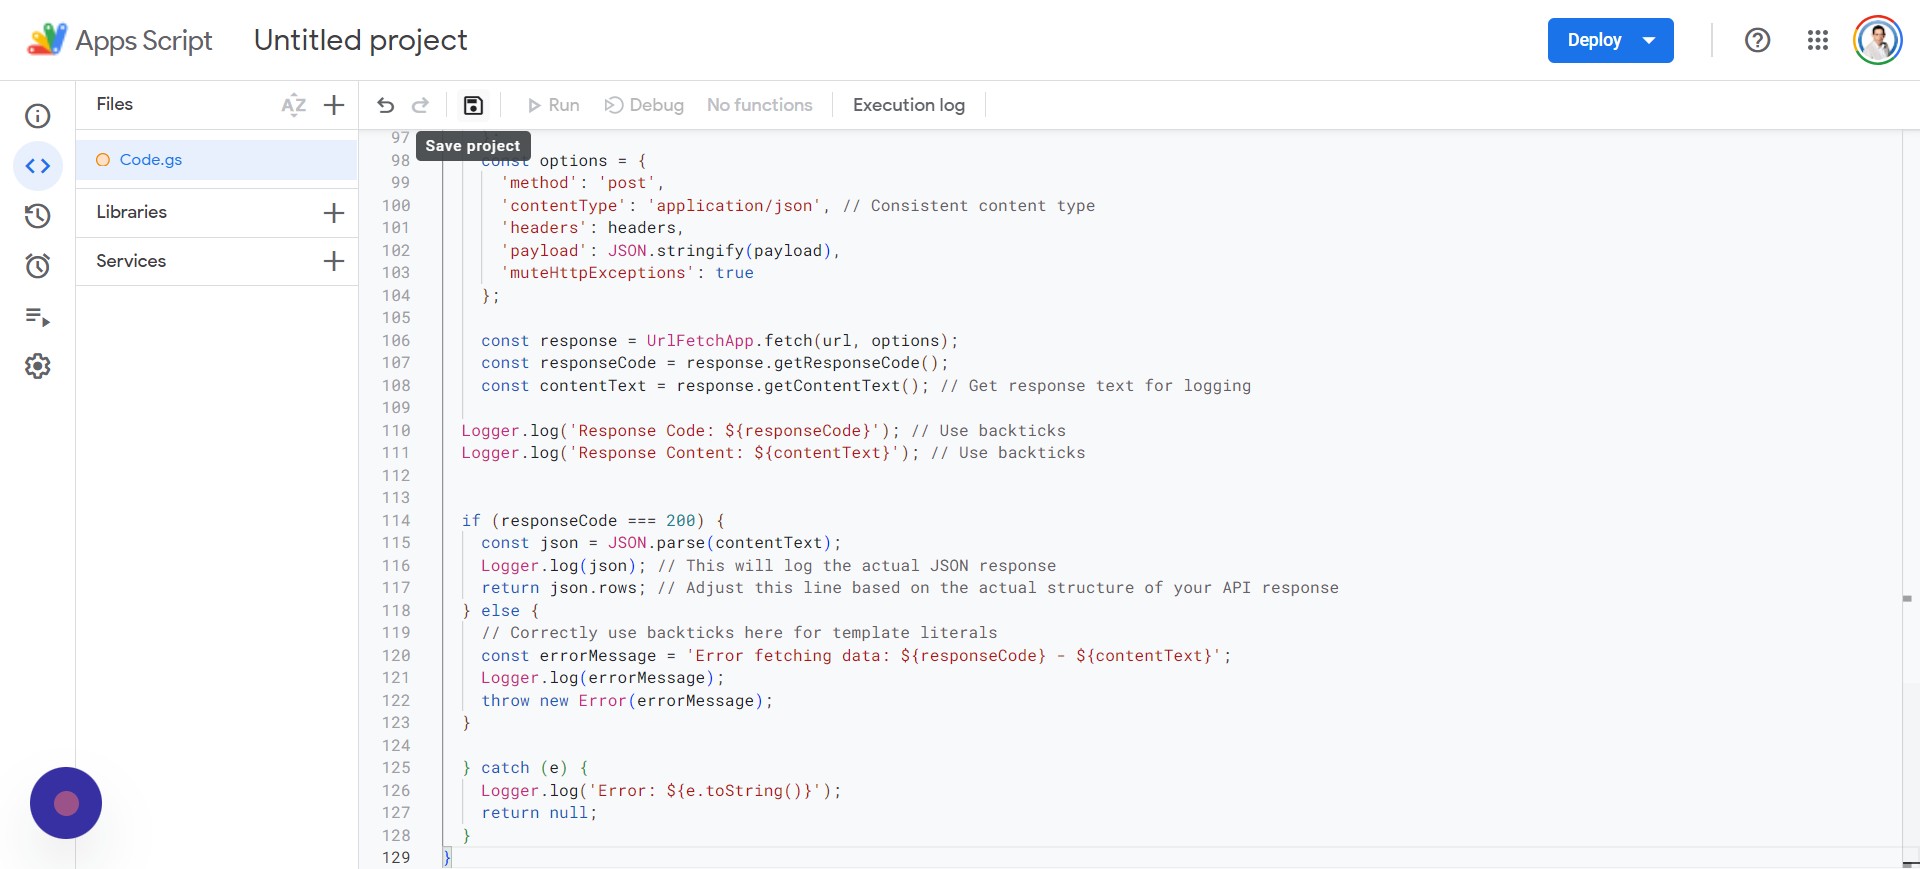
Step 4: Create Apps Scripts In Google Sheets
On this step, we’ll work on integrating the Apps Script into the Google Sheet that you just created beforehand. You’ll have to open the Sheet and observe these steps:
- Faucet Extensions > Apps Script.
I’m not going to enter the small print on how the script works, however you may copy this code:
operate onOpen() {
var ui = SpreadsheetApp.getUi();
// Or DocumentApp or FormApp.
ui.createMenu('Search Console')
.addItem('Fetch Information', 'menuItem1')
.addToUi();
}
operate menuItem1() {
var sheet = SpreadsheetApp.getActiveSpreadsheet().getActiveSheet();
var lastRow = sheet.getLastRow(); // Discover the final row with information in column A
// Clear cells C2:F151 earlier than processing information
sheet.getRange("C2:F151").clearContent();
for (var i = 2; i <= lastRow; i++) { var siteProperty = sheet.getRange(i, 1).getValue(); var startDateValue = sheet.getRange('M1').getValue(); var endDateValue = sheet.getRange('M2').getValue(); var timeZone = SpreadsheetApp.getActiveSpreadsheet().getSpreadsheetTimeZone(); var format = "yyyy-MM-dd"; // Calculate dates for final 12 months var lastYearStartDate = new Date(startDateValue); lastYearStartDate.setFullYear(lastYearStartDate.getFullYear() - 1); var lastYearEndDate = new Date(endDateValue); lastYearEndDate.setFullYear(lastYearEndDate.getFullYear() - 1); var startDate = Utilities.formatDate(lastYearStartDate, timeZone, format); var endDate = Utilities.formatDate(lastYearEndDate, timeZone, format); // Fetch information for the earlier 12 months var previousYearResponse = requestSearchConsoleAPI(siteProperty, startDate, endDate); // Fetch information for the present 12 months (unchanged) startDate = Utilities.formatDate(new Date(startDateValue), timeZone, format); endDate = Utilities.formatDate(new Date(endDateValue), timeZone, format); var currentYearResponse = requestSearchConsoleAPI(siteProperty, startDate, endDate); // Course of and write information for each years processAndWriteData(sheet, i, previousYearResponse, currentYearResponse); } } operate processAndWriteData(sheet, row, previousYearResponse, currentYearResponse) { // Test if response will not be outlined or null and has no less than one row if (previousYearResponse && previousYearResponse.size > 0) {
var previousYearClicks = 0;
var previousYearImpressions = 0;
previousYearResponse.forEach(operate(row) {
previousYearClicks += row.clicks;
previousYearImpressions += row.impressions;
});
sheet.getRange(row, 5).setValue(previousYearClicks); // Write to column D (index 5)
sheet.getRange(row, 6).setValue(previousYearImpressions); // Write to column E (index 6)
} else {
Logger.log('No information discovered for earlier 12 months in row: ' + row);
}
// Course of and write information for the present 12 months
if (currentYearResponse && currentYearResponse.size > 0) {
var currentYearClicks = 0;
var currentYearImpressions = 0;
currentYearResponse.forEach(operate(row) {
currentYearClicks += row.clicks;
currentYearImpressions += row.impressions;
});
sheet.getRange(row, 3).setValue(currentYearClicks); // Write to column C (index 3)
sheet.getRange(row, 4).setValue(currentYearImpressions); // Write to column D (index 4)
} else {
Logger.log('No information discovered for present 12 months in row: ' + row);
}
}
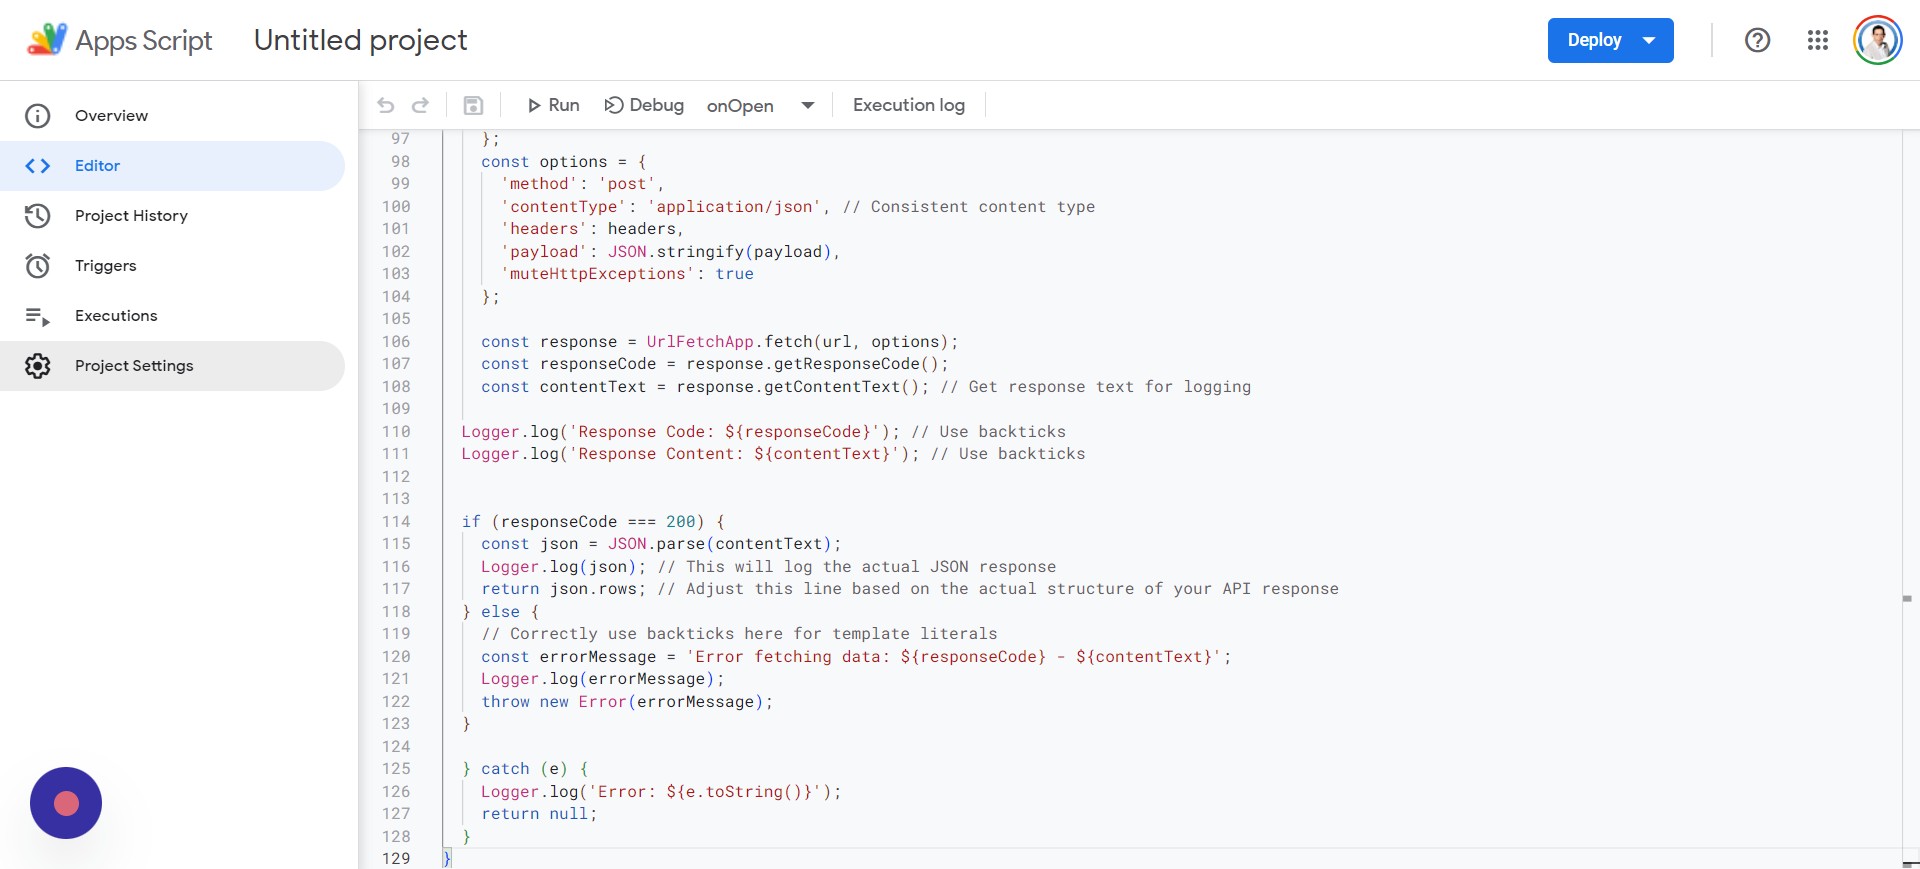
operate requestSearchConsoleAPI(siteProperty, startDate, endDate) {
strive {
const oauthToken = ScriptApp.getOAuthToken(); // Accurately name the strategy
const siteUrl = siteProperty;
const url="https://www.googleapis.com/site owners/v3/websites/" + encodeURIComponent(siteUrl) + '/searchAnalytics/question';
const payload = {
startDate: startDate,
endDate: endDate,
kind: 'internet'
};
const headers = {
'Authorization': 'Bearer ' + oauthToken,
'Content material-Sort': 'utility/json'
};
const choices = {
'technique': 'publish',
'contentType': 'utility/json', // Constant content material kind
'headers': headers,
'payload': JSON.stringify(payload),
'muteHttpExceptions': true
};
const response = UrlFetchApp.fetch(url, choices);
const responseCode = response.getResponseCode();
const contentText = response.getContentText(); // Get response textual content for logging
Logger.log('Response Code: ${responseCode}'); // Use backticks
Logger.log('Response Content material: ${contentText}'); // Use backticks
if (responseCode === 200) {
const json = JSON.parse(contentText);
Logger.log(json); // This can log the precise JSON response
return json.rows; // Regulate this line based mostly on the precise construction of your API response
} else {
// Accurately use backticks right here for template literals
const errorMessage="Error fetching information: ${responseCode} - ${contentText}";
Logger.log(errorMessage);
throw new Error(errorMessage);
}
} catch (e) {
Logger.log('Error: ${e.toString()}');
return null;
}
}After which return to your Apps Script undertaking and do the next:
- Press CTRL + A to pick all.
- Press CTRL + V to stick within the code you copied.
- Faucet OK.
- Click on Save undertaking.
- Faucet Run.
*Be aware: In case you are receiving a Unhealthy Request error from Google with too many redirects, it is because you’ve a number of accounts logged in. Attempt in a browser with just one Google account logged in.
 Screenshot from creator, April 2024
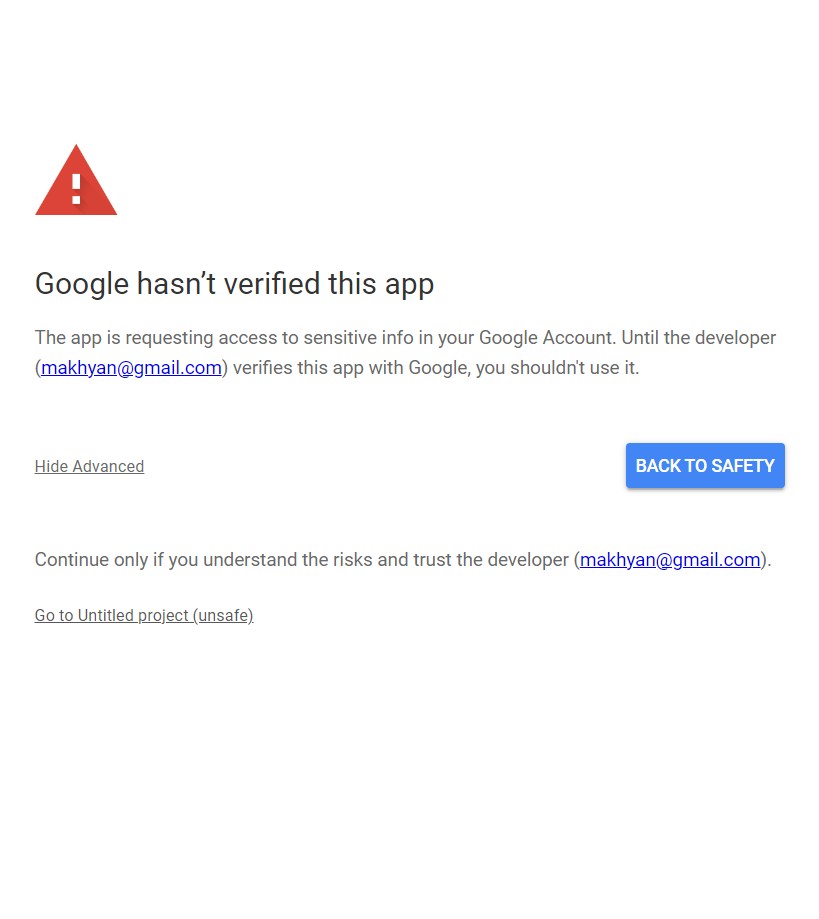
You’ll be requested to Evaluation permissions and might want to choose the Google Account related along with your Google Search Console.
Google provides you with a warning as a result of the app isn’t verified, so merely faucet on the “Superior” setting after which “Go to Untitled undertaking (unsafe).”
 Screenshot from creator, April 2024
Lastly, you may full this step by tapping or clicking on the Permit button.
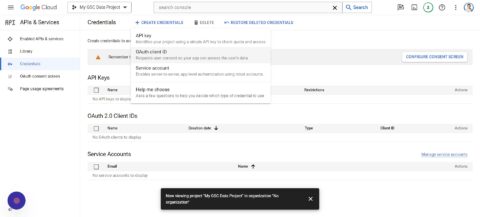
Step 5: Set Up The Entry Credentials
I do know there’s a whole lot of back-and-forth happening between Sheets and Google Cloud Console, however it’s an unlucky necessity at this level. Now, we might be organising Entry Credentials, which would require you to return to the Google Cloud Console.
Be aware: You will need to have enabled the Google Search Console API from the earlier step.
Your display screen ought to look one thing like this:
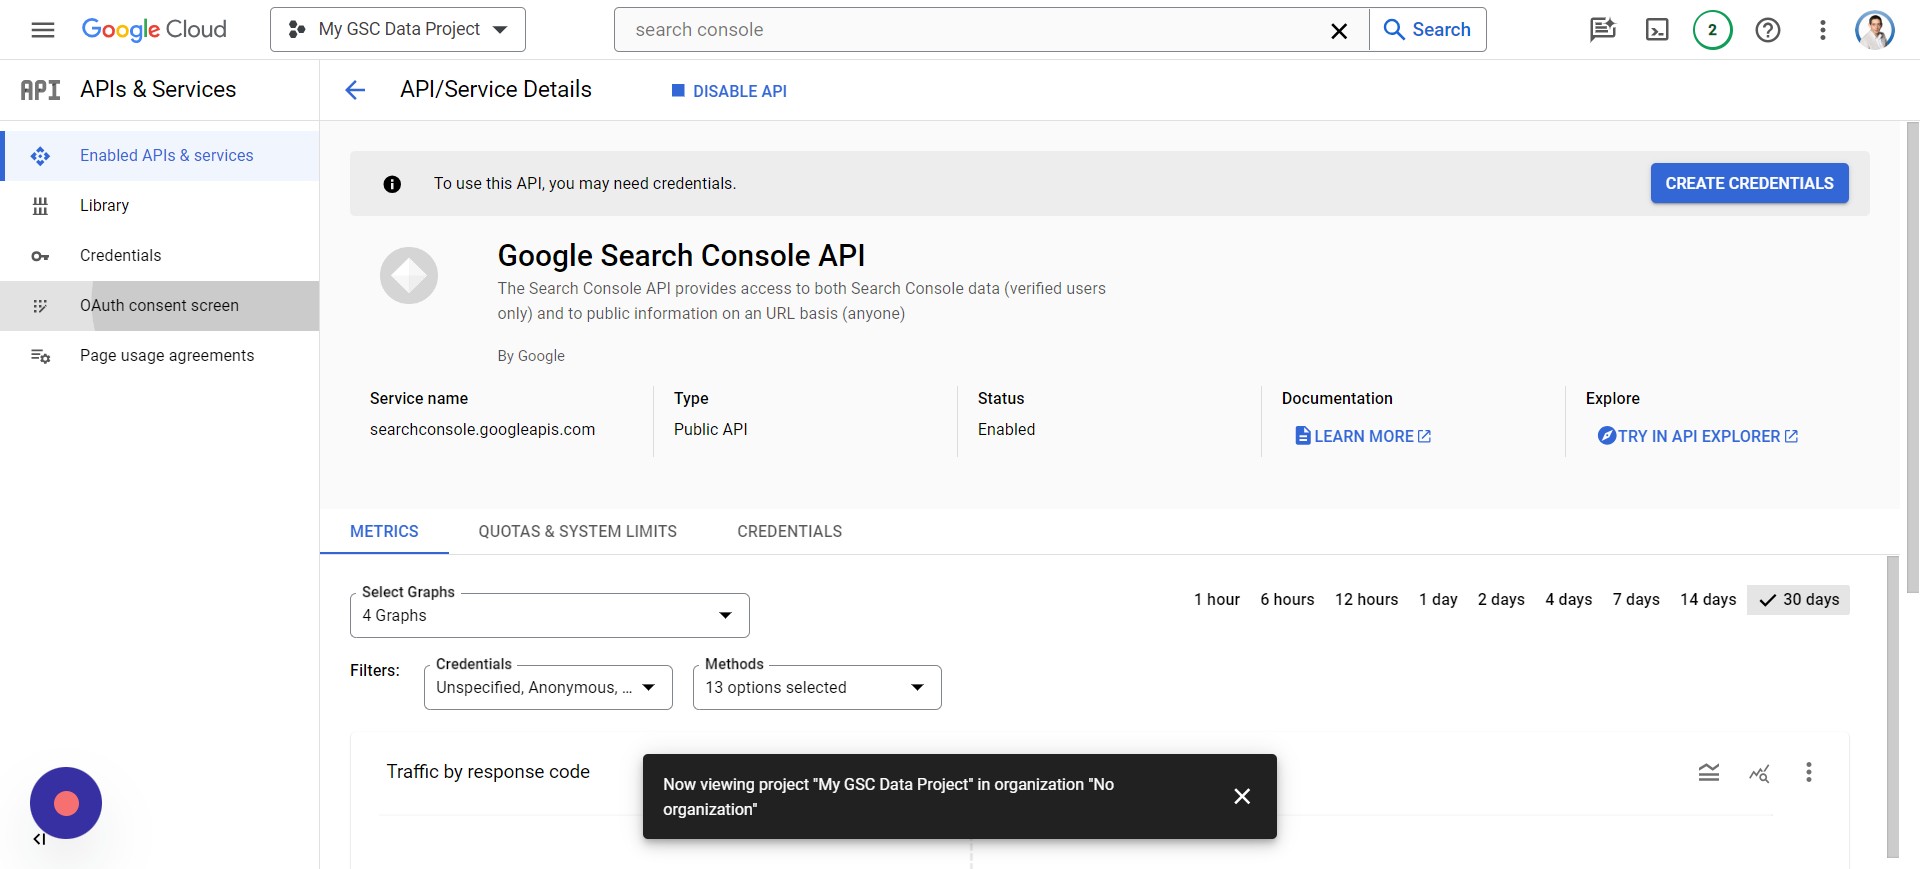 Screenshot from creator, April 2024
You’ll have to:
- Faucet Credentials > Create Credentials.
- Faucet OAuth shopper ID > Configure Consent Display.
- Click on Exterior.
- Faucet Create.
- Enter “My GSC Information” because the App identify.
- Add your Help e mail (your e mail used for GSC).
- Add your Developer contact data (the e-mail you used for GSC).
- Faucet Save and proceed.
- Faucet ADD OR REMOVE SCOPES.
- Test 2 of the Google Search Console API scopes (could be on web page 2).
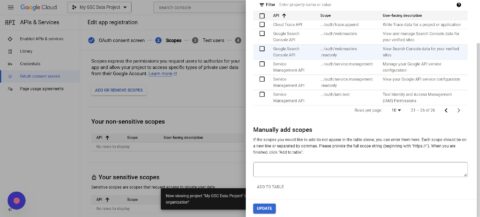
- Click on Replace.
- Click on Save and Proceed.
- Now click on Add Customers.
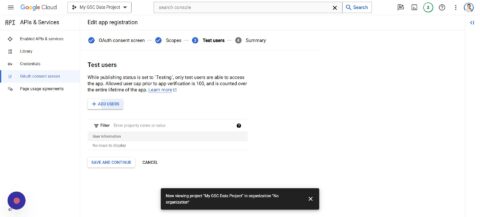
- You possibly can add a number of customers, ideally people who have entry to GSC.
- Save and Proceed.
Step 6: Set Up Google Cloud Undertaking For GSC Information
Whereas we’re nonetheless on the Google Cloud Undertaking, you’ll need to click on the hamburger icon and go to Cloud overview > Dashboard:
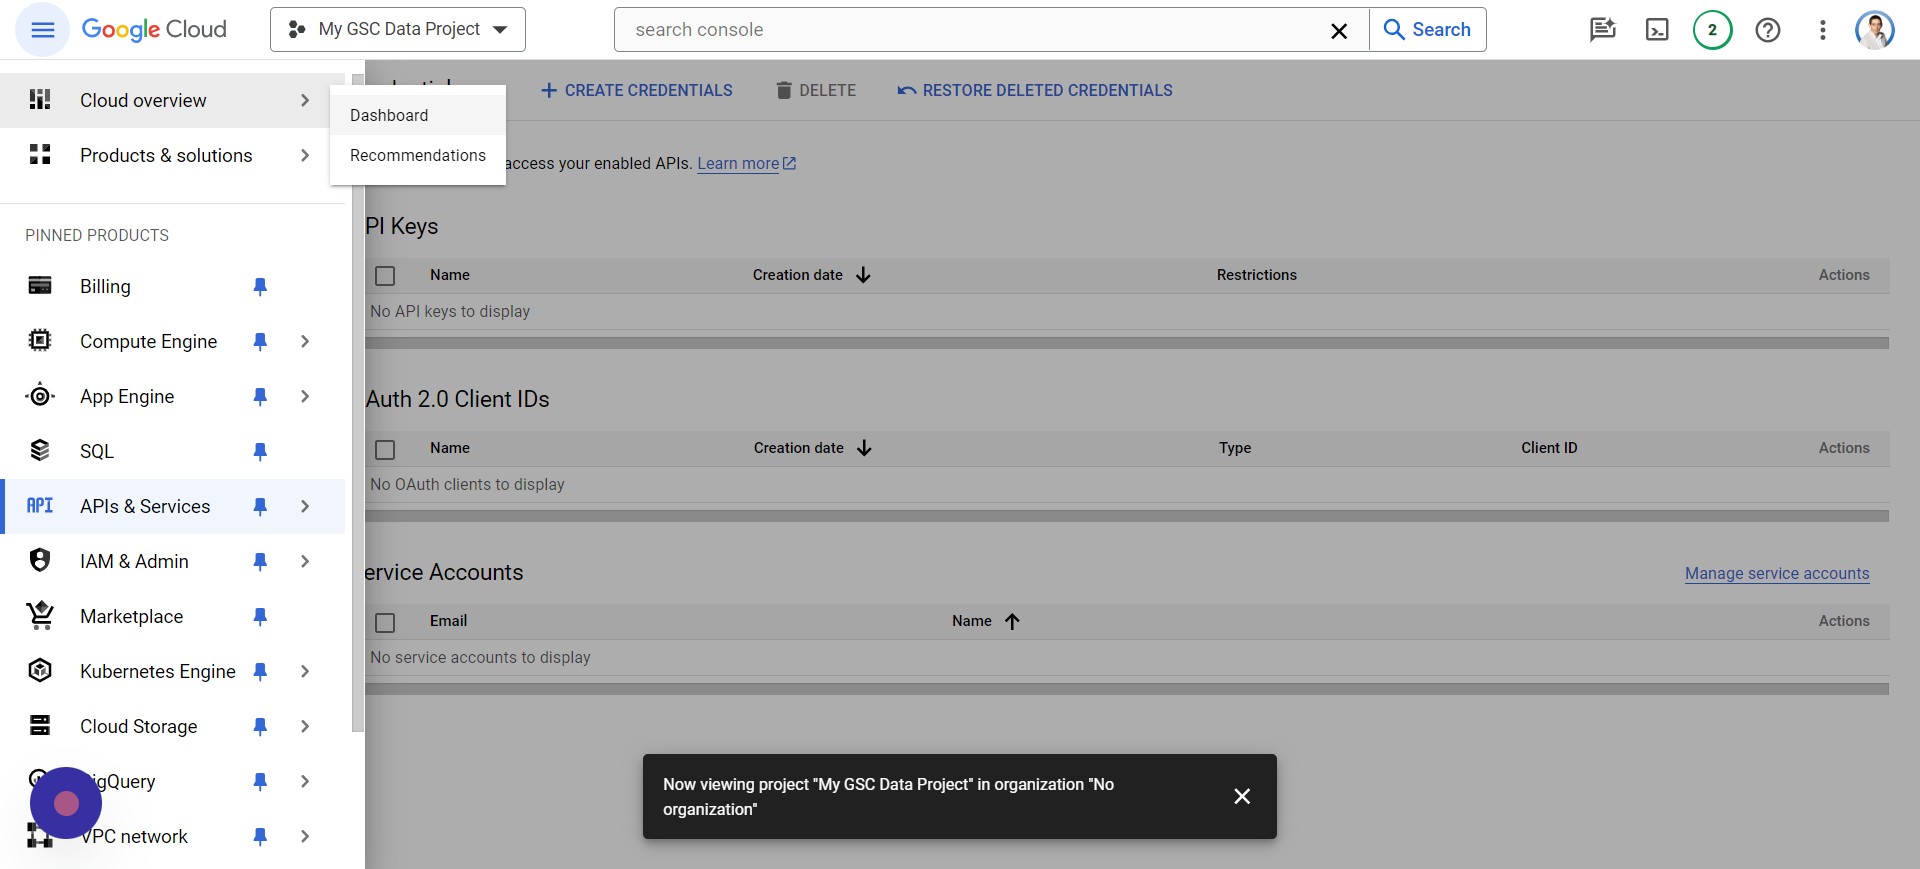 Screenshot from creator, April 2024
You’ll discover that it says “Undertaking quantity,” which you need to choose and Copy by urgent CTRL + C.
Swap again to your Apps Script tab and faucet Undertaking Settings:
 Screenshot from creator, April 2024
Go to the part titled Google Cloud Platform (GCP) Undertaking, paste the undertaking quantity (CTRL + V) into the textual content field, and click on Set undertaking.
Step 7: Rename Your Google Apps Script
You’ll now need to rename your Apps Script by going to Undertaking Historical past like this:
You’ll then:
- Click on Untitled undertaking on the high of the display screen.
- Enter “My GSC Information Undertaking Script.”
- Click on on Rename.
Step 8: Edit Google Apps Manifest File For Code.gs Script
You’re nonetheless staying inside your script, and we’re going to return to Undertaking Settings simply as we did earlier than.
This time, you’ll need to click on Present “appsscript.json” manifest file in editor to ensure there’s a checkmark subsequent to it.
Subsequent, click on on Editor and navigate to the appsscript.json, which you’ll be able to see under:
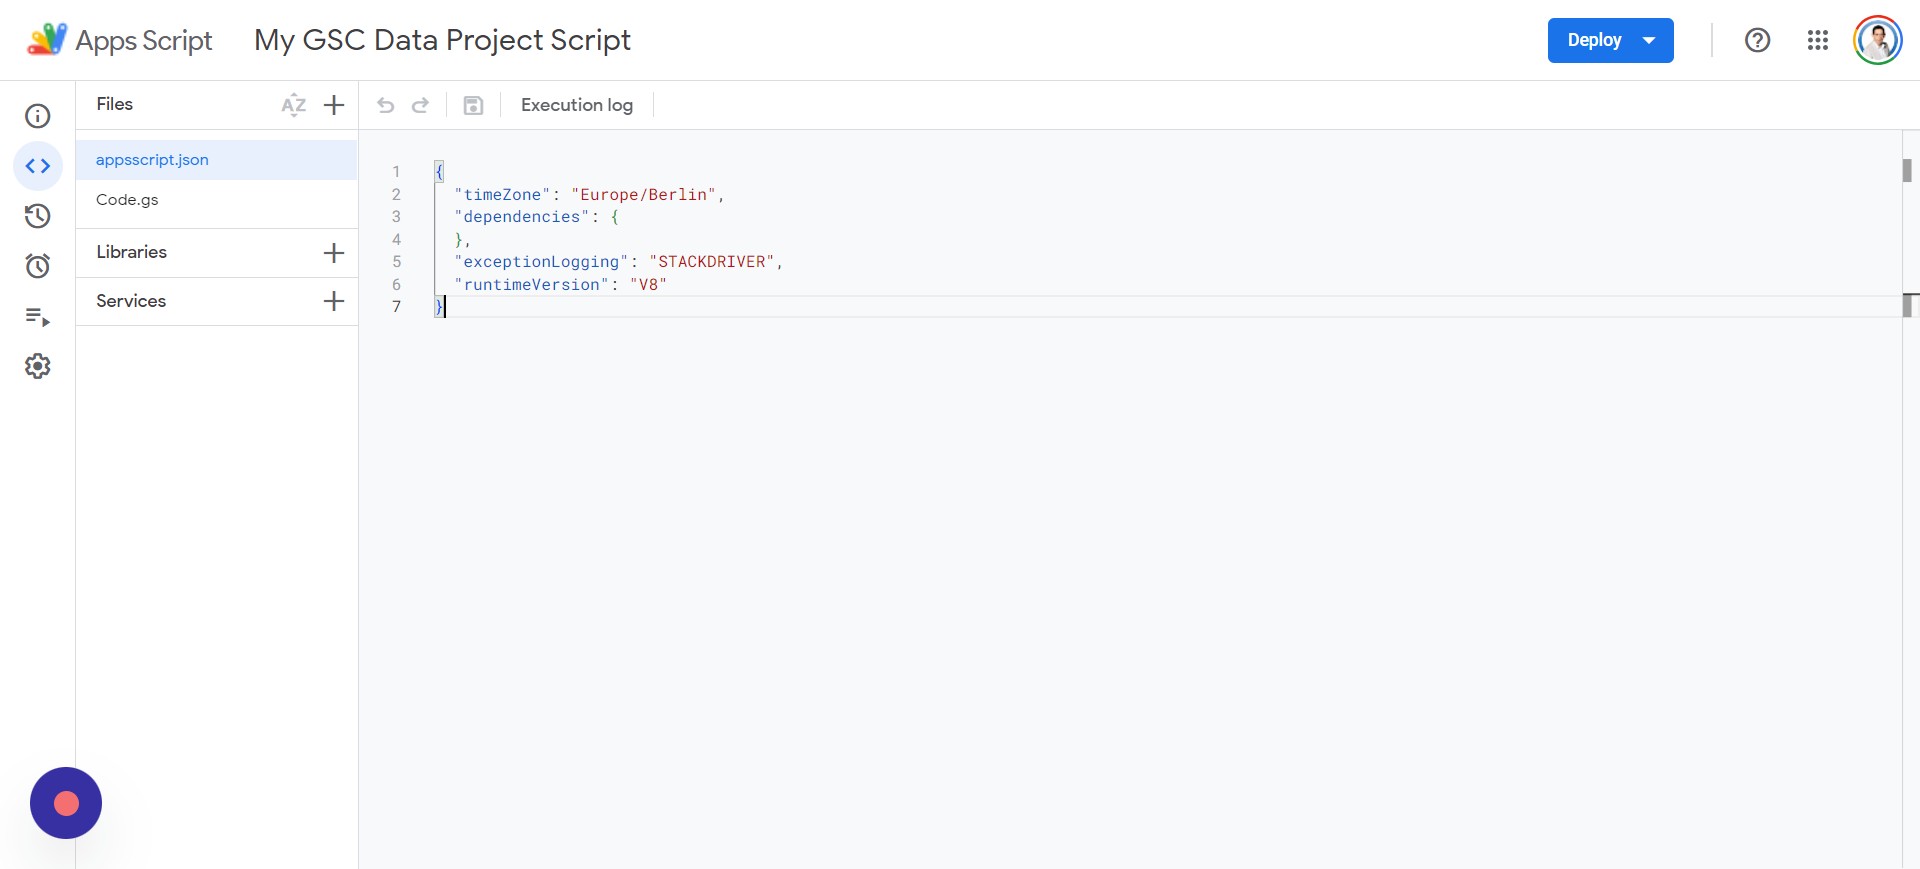 Screenshot from creator, April 2024
You’ll need to delete every little thing within the appsscript.json file and paste within the following script:
{
  "timeZone": "America/New_York",
  "dependencies": {
  },
  "exceptionLogging": "STACKDRIVER",
  "oauthScopes": [
    "https://www.googleapis.com/auth/webmasters",
    "https://www.googleapis.com/auth/script.external_request",
    "https://www.googleapis.com/auth/spreadsheets",
    "https://www.googleapis.com/auth/spreadsheets.currentonly"
  ]
}
When you’ve added the code, you may click on in your Code.gs file and faucet Save, after which Run. You’ll be prompted to evaluation permissions, and also you’ll want to pick your acceptable account to proceed utilizing.
After a couple of prompts, you’ll be requested to permit your app “My GSC Information,” and execution will start.
Step 9: Regulate The Dates For Web site Information Evaluation
Within the Google Sheets file, you’ll need to add the next beneath:
- L1: Begin Date.
- L2: Finish Date.
Be aware: The beginning and finish dates must be laid out in M1 and M2. For instance, you may enter:
Be aware: The date format could differ based mostly in your system settings and placement.
Step 10: Set Conditional Formatting For Non-Empty Cells Much less Than Zero
All the pieces is about up, however you need to add some conditional formatting to make it look higher. We’re going to give attention to the “Clicks % Distinction” and “Impressions % Distinction” columns:
 Screenshot from creator, April 2024
Choose the rows beneath the headers “Clicks % Distinction” and “Impressions % Distinction” and click on on Format > Conditional formatting. Below Format guidelines, you’ll need to choose Lower than.
Within the “Worth or system” textual content space, you may add 0.
What this does is that if it’s lower than 0, we’ll be altering the colour to purple because it’s within the unfavourable and site visitors has been misplaced. You are able to do this by clicking on the paint can and altering it to purple earlier than clicking achieved.
If you wish to change a constructive enhance in site visitors to inexperienced, you’ll add one other rule for Larger than and add the 0 worth.
Listed below are the formulation to make use of in G2 and H2 (you may replicate them for every row; simply click on and drag down for the opposite rows):
=IFERROR(IF(AND(C2<>"",E2<>""), (C2-E2)/E2, ""),"")=IFERROR(IF(AND(D2<>"",F2<>""), (D2-F2)/F2, ""),"")Now, you’ve a straightforward solution to run studies on a number of websites without delay.
That’s It, You Have Your World Report
In column A, enter your Google Search Console properties; if it’s a area property, add it as sc-domain:instance.com or a URL property as https://instance.com
To run or refresh the report, use the particular menu Search Console > Fetch Information:
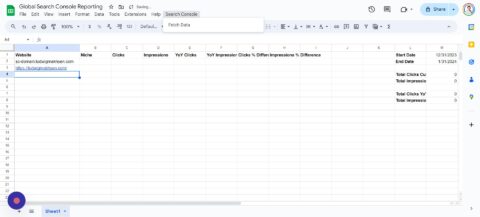
*Be aware: This script helps about 150 domains, however in case you want extra, you may alter the row #14 in your AppScripts file:
sheet.getRange("C2:F151").clearContent();
Utilizing this very tutorial, you’ll have a straightforward time turning days of gathering information and working studies into a couple of minutes. You possibly can even broaden the scripts to carry out different calculations or collect extra information in your report.
Take a look at my different tutorial on Integrating ChatGPT With Google Sheets.
Automating your studies is an effective way to streamline tedious duties, and I hope it makes your job a bit of simpler.
Extra sources:
Featured Picture: 200dgr /Shutterstock